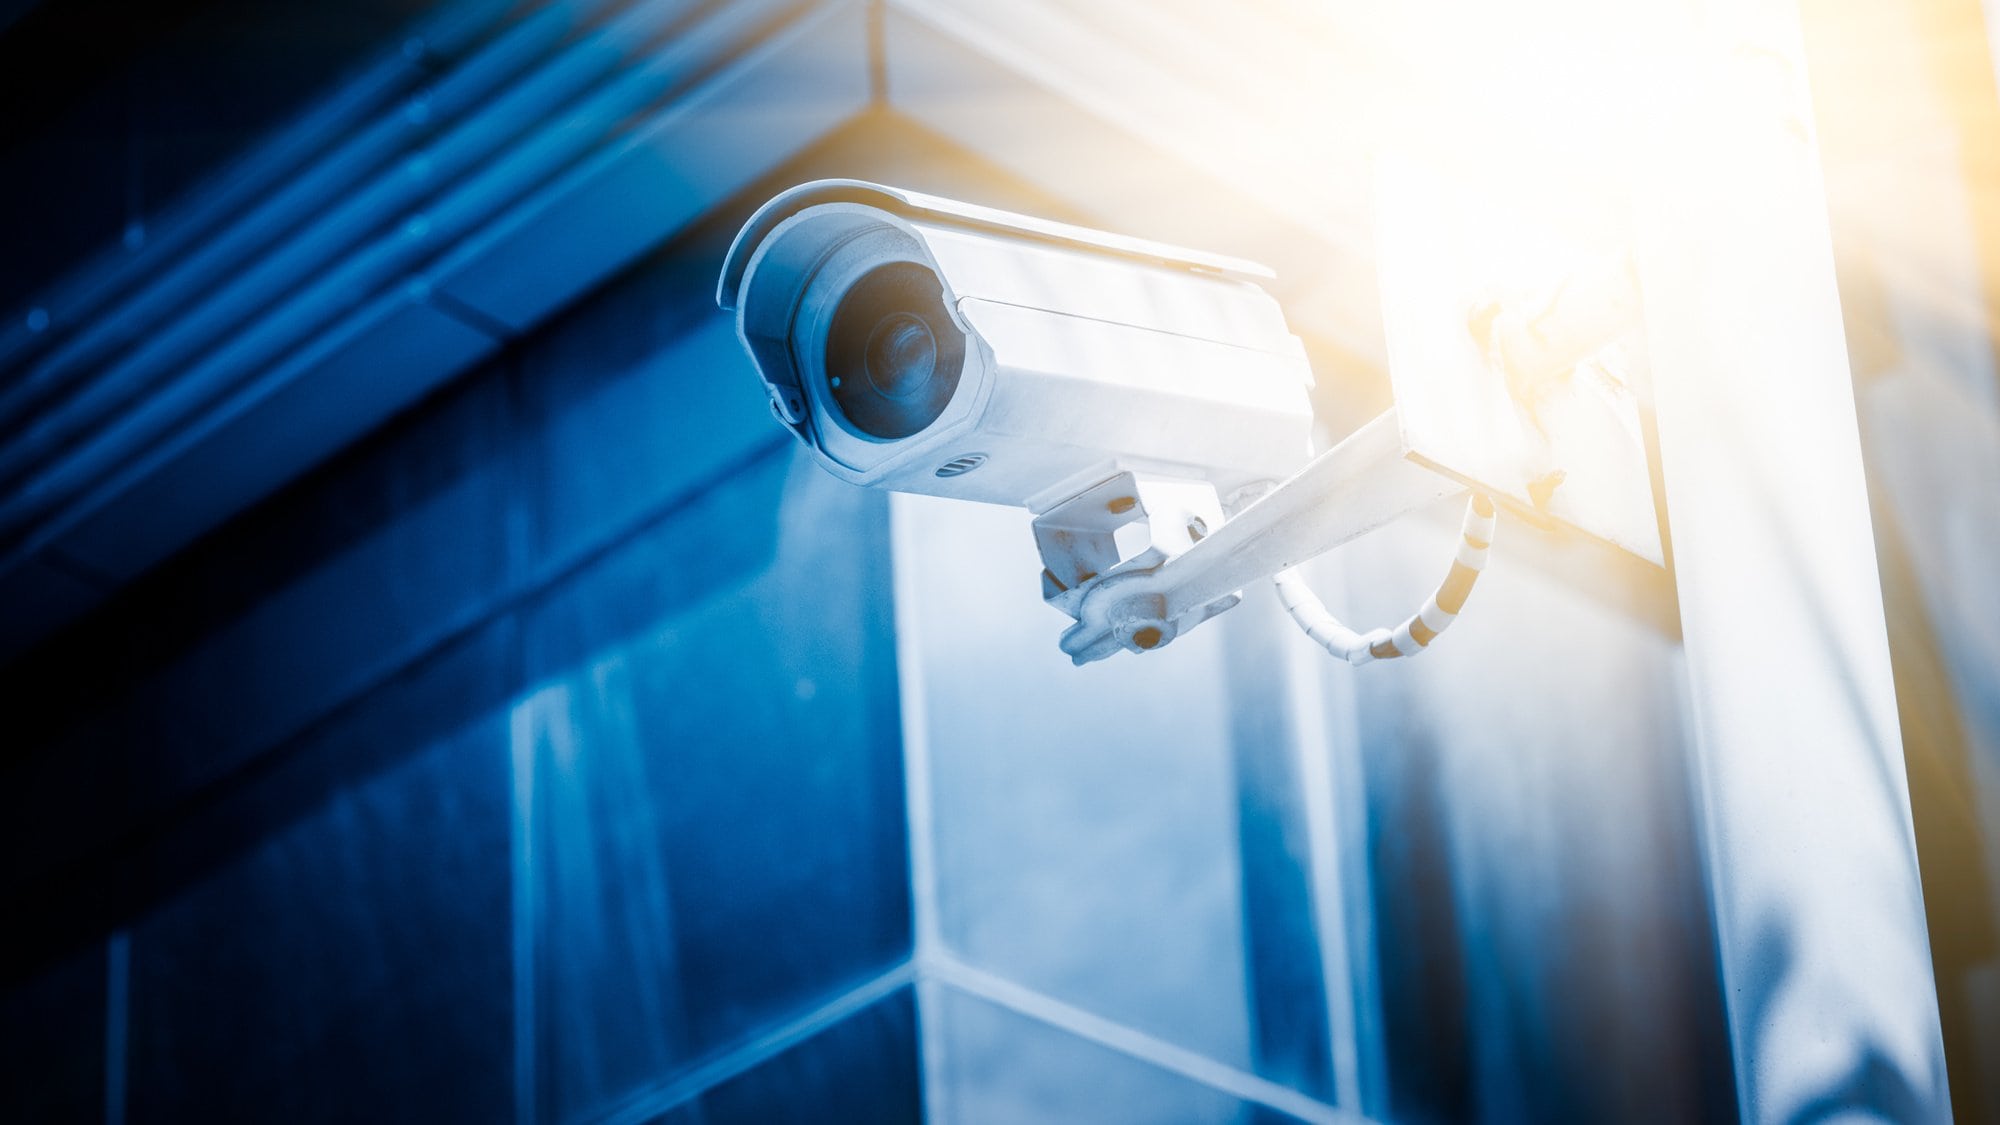
Are you looking to protect your home or business while you’re away? If so, one of the best things you can do is invest in a security camera system.
If there’s a downside to security cameras, it’s that they don’t deter all crime. For example, your system may have a blind spot that a burglar could use to sneak through. The more blind spots there are, the more risk you face.
Fortunately, you can minimize this risk by putting some thought into your security camera installation. Here’s a quick guide to identifying and avoiding blind spots in your security system.
Learn How Blind Spots Work
First things first: what is a blind spot? In simple terms, this is an area that’s not in the peripheral vision of your security camera.
Since cameras have a limited range, no camera can cover an entire property. As such, you should position your cameras so they cover each other’s dead zones. The question is: how do you do that with as few cameras as possible?
The key to this lies in assessing your particular camera’s blind spots. The first thing you should do is check its field of view (FOV). The camera’s FOV refers to the viewing angles it can record or capture.
The viewing angle of a security camera depends on the lens it uses. Most fixed lenses come in four mm, six mm, and eight mm. You also have varifocal lens cameras, which you can adjust according to your needs.
A camera with, for instance, a four mm fixed lens will have a viewing angle of 80°. Any area beyond those 80 degrees will be a blind spot. Placing the camera in the wrong place can make this spot bigger.
Do Some Trial Runs
The best way to determine the blind spots of your cameras is to see them in action. This involves doing a few trial runs of your property.
For this task, you’ll need a trusted person to pose as a visitor or an intruder. Ask a family member, friend, or neighbor to do it. Then tell them to approach your property from various angles, including:
- Your front door
- Other entrances (garage door, back porch, etc.)
- All windows (each one can serve as an entry point)
While they’re walking around these places, track them on your camera’s feed. These days, smart cameras allow you to do this from your phone. That said, these remote feeds may show a smaller FOV than your main feed.
During a trial run, ensure your cameras follow your assistant all the way through. If you notice any blind spots during this exercise, make a note of them. For best results, do several trial runs with varying lighting.
Avoid Blind Spots
After collecting the trial run data, you’ll know which parts of your property need protection. The next step is to figure out how to go about it.
Ideally, you’d use a multi-camera setup to protect all entry points. To do that, each camera needs to overlap with another camera’s viewing area. Here are some tips that will help you design a smart security system for your needs.
1. Place Cameras Strategically
Once you know which areas you need to cover, it will be much easier to figure out where you need to place your cameras. If you’re not sure if certain areas are important or not, consult a professional for expert advice.
If you don’t have any cameras yet, take photos or videos of your property instead. Get the entire property on tape, including the perimeter. Then, show these photos or videos to professionals to identify blind spots.
2. Invest in Wide-Angle Cameras
Though camera placement allows you to minimize blind spots, you can do the same by investing in wide-angle cameras. The best two types of cameras for this purpose are panoramic cameras and PTZ cameras.
If you have the budget, a 360° panoramic fisheye camera is your best bet. Unlike fixed IP cameras, these cameras offer a surround view of the property. Walmart and many other stores use 360° cameras to prevent shoplifting.
A PTZ (pan/tilt/zoom) camera is a solid alternative to panoramic options. Though it only tracks one area, it comes with an optical zoom option. In some cases, like rooftop surveillance, that’s more useful than digital zoom.
Keep in mind that some PTZ cameras offer automatic targeting. If a moving person or vehicle gets into its view, the camera will track them by itself. Of course, these cameras tend to come at a higher price point.
3. Consider External Factors
Outside factors can have a major impact on your camera’s capture. If your trial runs were thorough, this is something you should already know. The moving sun, for instance, may cause blind spots in your system by itself.
You also need to consider the weather conditions. In autumn, a wind gust causing a tree branch to move could block a camera’s view. In winter, that same tree will be bare, which presents a different set of challenges.
External factors are particularly important for residential security cameras. To avoid potential trouble, make it a habit to monitor them each season. Again, doing some trial runs in different conditions will be well worth it.
4. Avoid Camera Vandalism
Beyond Mother Nature, you also need to consider potential vandals. If your camera is easily accessible, someone could destroy it or obstruct its vision. Vandalism often leads to theft, but it can also happen for its own sake.
Regardless of why vandalism may occur, you should try to prevent it. One way to do it is to invest in vandal-proof commercial security cameras. These cameras have protective housing designed to withstand tampering.
Security Camera Installation and You
At the end of the day, developing a solid security camera system is all about being proactive. You’ll need to probe for weaknesses in your system and fix them efficiently. The above guide is a good place to get started!
Want to leave the security camera installation to professionals? Our experts at Briggs AV Solutions can take care of any commercial or residential project! Reach out to us for a free consultation!

